Saturday, May 30, 2015

WIP - Traditional piece...

     So... very often when I enter a gallery or looking through an art book I find myself thinking, "Well, I can do that."  This is from one of those occasions.  I had never used oil crayons before and I ran across a semi-local artist who used them for nature illustrations.  I was inspired and thought I would give it a go.  There have always been a large number of deer around my family's home in Oregon and I had a good amount of reference, so I found an image I liked and used it to create this piece.  What I really wanted to focus on with this was trying to push a depth of field in a traditional piece, so I went really loose in the background and have incorporated different levels of snowflake to really push a 3 dimensional feel to the piece.

     I would say it is about 70-80% done here as there is a lot of snow left to draw/paint, I need to push the shadows on the ground and I want to go back over the deer once more for just a bit more detail attention.  Sorry for the camera phone quality and yellowing.  When I finish I will break out my real camera, take some archival images and post a final piece both here and on my site.


The Last Apple of the Season
Oil crayon and acrylic on paper, 22x30

Thursday, May 28, 2015

Some graphic design work...

I was going through some graphic design freelance work files to update my site and thought I would post some here.

A few months back I did some work for a web design company looking to hire a few web programmers.  It is a pretty cool small business with a superhero / comic theme.  I enjoyed brainstorming with them as their theme allowed for a number of fun ideas.


This is a printed flyer looking for new employees.  I have removed the text, website and address of the company.
Front: We had a pretty specific idea for what would work.  A cape and cowl patiently waiting on a hook for the new team member.  Because finding an image to exactly match the concept would have been neigh impossible, and photomerging stock images together would have produced less than ideal results while taking the same amount of time, I was given the go-ahead to model/render everything in Maya.
Back:  I created the characters in illustrator, then brought them into PS and went from there.  I like how it turned out.

For good measure I threw in a free square blurb image in case they also wanted to 
post the available jobs on their facebook page.

------------------------------------------------------------------------------------

While I was living in north Hollywood, I helped out an e-cigarette startup with logo, oil bottle stickers and an example menu to try to raise the professional feel of their company.  The text in the menu was filler I made up and not formatted for final print.


------------------------------------------------------------------------------------

I also did a bit of freelance for an architecture firm in Oregon helping with some retouching to raise the presentation level of their proposals.  I have added some before and after images to show what I was able to achieve with a bit of Photoshop manipulation.  I enjoyed being able to do some retouch manipulation again.

This image was for one of the project lead's personal portfolio.  (billed separately to him)
Color correction, removed person, added lights and glow, added signage, populated with people, plants, office supplies.

Most of the images I worked on were like this.  Small changes to darken distracting areas, add texture
and add people and plants for scale and to make the room feel more alive.

Slight color correction, background added, floor texture & carpet fix, cleaned ugliness in stair walls,
populated with plants, dishwasher, added company logo as a sign.


Tuesday, April 21, 2015

I have been working on quite a lot of traditional work recently.

When I was at Ringling I was lucky enough to come across an art store that was going out of business.  Since I was showed up the day before it closed its doors forever, I was able to get everything at 75-85% off.  Never one to pass on a great deal, I pretty much just bought the rest of their supplies and found myself owner of hundreds of tubes of watercolor paint, a medium my mother dabbled in when I was a child and one that always interested me.

Not too long ago, I decided that now was as good a time as any to start working in it and, since I needed a new self portrait for avatars, I decided that would be a good place to begin.


I think I need to spend a bit more time in the initial drawing phase.  I realized quickly that the angle I drew the line work was way too low in relation to what I was drawing off of, and the proportions turned out to look like a Modigliani painting.  No problem for a little photoshop adjustment in post, but stressed to me the importance of getting the drawing right before starting in on the colors.

I have also started a piece in oil pastels of a deer eating an apple because I had never worked the medium before and I have a thing for trying out every possible art medium available.  I will post some work in progress images of that and some landscape paintings soon.

:)

Tuesday, February 3, 2015

Boots....

So I talked to Paul at Pixologic and he said that as of right now there is no current way to do turnarounds with the package, and he is unsure about future deals with Keyshot for making that an option.  They are too busy with the launch to really think about it right now.

No turntables is a bit disappointing, but after playing around in the program, I anticipate fun is to be had no matter what.  This is about 10 minutes fiddling around with importing a pair of boots.


The boots are off of the Clara model I have been working on, just to see what is what.  I haven't textured them, or really added any high res detail yet, this is just basic primary and light secondary shapes.  I added a brown leather material to the boots and changed the color to a lighter brown since stock it is pretty dark, added a black leather material to the soles and an old metal texture to the spurs.
Let it do its thing and... voila.  As a thumbnail, I could see these mistaken for real boots.  Add in texture and detail and I think It will be able to put out some crazy photoreal images.

Zbrush to Keyshot package....

Well, Zbrush 4r7 has finally released and with it came the 4r7 64 bit beta as well as the much anticipated Zbrush to Keyshot package which includes the bridge and a limited version of Keyshot specifically for Zbrush users.  I have been waiting to snatch this up since it was announced months ago, and bought it straight away.


I love the ease of use and the great renders Keyshot provides, but was confused when I went to render out a turntable.  The normal turntable option was nowhere to be found.  It seems that one of the limitations on the Keyshot for Zbrush package is a lack of rendering turntables native in Keyshot.  Since (I believe) this is mainly marketed to artists in the entertainment industry (and even artists who deal in jewelry) I find this to be a major flaw in the package.

I have heard rumors that it is still possible to set up the turntable in Zbrush and THEN render it through KS, but I have not yet tried it so I can't say one way or the other.  I will do some research, tests and re-edit this post if possible.

Wednesday, October 29, 2014

So I was browsing imgur...

... and it hit me.  Why don't I try rendering out my turntable updates to animated gif?  They would loop forever and although the quality is pretty low, the general idea would still come across.  Since I am not to the high detail point with Clara yet, I thought I would give it a try, so here is a test image.


As a quick test, I think it works okay.  I think I might look into webm format because I have heard you can get some good image quality with some fairly small file sizes.

Monday, October 13, 2014

Computer build pt. 2....

So as I mentioned, I just finished my computer build and am loving the results.  To get around the lack of internal and external USB ports I ordered a 5 port usb3 PCIe card, an internal hub and an external 7 port hub which should take care of all my usb needs. Also, since I wanted at least 4 sticks of ram I ordered 2 more 16gb rdimm3s.  I decided to go with the much cheaper 16 gig chips and put the big money into the video card with the thought that the ram would be easier and cheaper to upgrade later when prices drop since I don't anticipate the quadros having a significant price reduction in the near future.

Now that things are working correctly I and I have finished installing the new software, it is time to check out what is new in the latest versions.  Maya 2015 is great, and I am loving viewport2.0, but I am putting together this post today because I got a chance to try out painter x3.

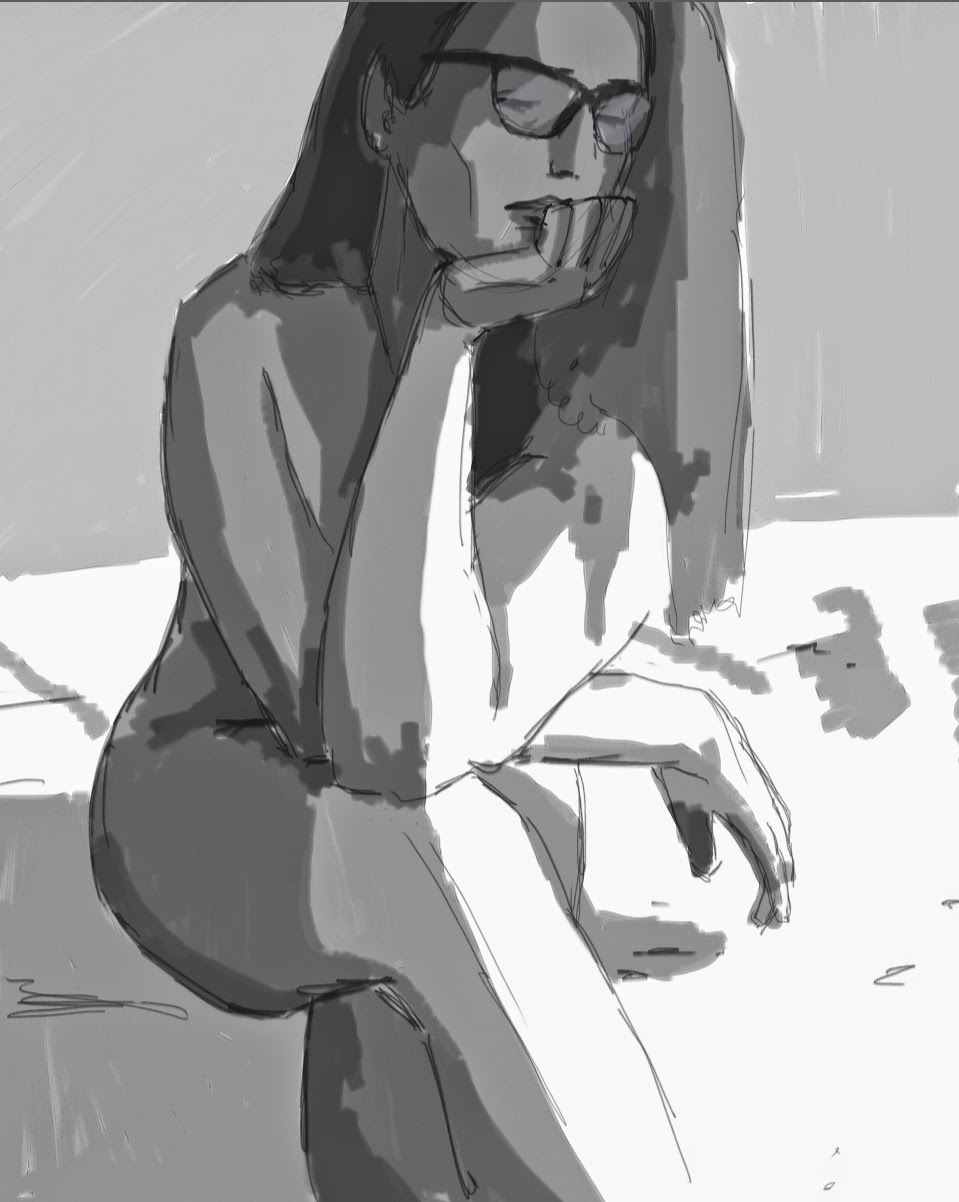
My friend Rose posed for some really quick life drawing sketches (a few 1-2 minutes and two 10 minute) to test out some of painter's pencils and brushes.  I haven't found a set/method that I am completely happy with yet, but I am looking forward to testing out the others in the days to come.


Friday, October 10, 2014

Clara & Bell

So I have more done on Clara and Bell.  When I have had time I have worked a bit more on Clara in Zbrush, as well as starting the robotic arm in Maya.  I also brought Bell into Maya to get a feel for the size relations between the two of them.


My next steps are flushing out all of the folds and pockets in the pants, and working out the anatomy in her arm.  The shirt in the picture is just a temp stand in blob.  I haven't decided what her upper wardrobe is going to look like.

Monday, September 29, 2014

Huge project finally completed...

So I have been looking to upgrade my system for a while now, but have been debating between going one very fast i7 chip or sporting dual slightly slower xeon chips.  It all came down to how Maya used the cores.

Since I bit the bullet and finally upgraded my Maya 2009 Ultimate to Maya 2015 (I have always bought them outright so I was not really interested in the subscription based version) I needed to know if 2015 was the same as previous versions in how it used the processor and ram, especially now that they have come out with viewport 2.0.  After a ton of research on the program, and a month and a half of going back and forth between i7 and xeon build I finally found out that 2015 will use muti-threads across multi-cores only when dealing with rendering, fur, cloth, hair, particles.  The rest of the time it really is all about single thread speed.

I decided to go with the dual cpu system but only buy one of the chips, which would allow me to spend the money in a much faster chip with the ability to add on additional one later.  Instead of two $880 CPUs, I spent $1600 on one faster chip with a much better benchmark.

I went this route because it would allow me a good working computer with continued upgradability when prices come down to a more reasonable range.  I am about $6000 in already on this computer. :\


Here is my current build.....

CoolerMaster Cosmos 1000 Case

Supermicro X9DAI-O LGA2011/ Intel C602/ DDR3/ SATA3&USB3.0/ A&2GbE/ EATX Server Motherboard

Intel Xeon E5-2680 v2 Ten-Core Processor 2.8GHz 8.0GT/s 25MB LGA 2011 CPU

Two 16GB Kingston 1600 DDR3 Registered ECC ram

Bluray rewriter, DVD rewriter, and internal Memory card reader for the front


I went with this board for the dual Xeon CPU capability and that it is able to be upgradable to a whopping 512GB RAM.  A lot of the "workstation" boards that I came across maxed out at 64GB RAM and while that may sound like a lot now, in a few years that will probably fall short of what I need.  If you are thinking of going this route, which I feel is a good option if you have the money, there are a couple things you should know. 

1.  Although the board says that it is a standard EATX board, it is not.  5 of the 10 mounting holes do not line up with a standard case and you will need to address the problem when mounting the board into your system.  You can either drill and tap extra holes for mounting, or do what I did which seems to work just fine; use metal, screw based risers in the 5 holes that line up correctly and modified plastic risers to keep the board off the metal bottom.  The metal risers will stop it from falling off, and the plastic risers will help reinforce the board against bending when you install cards, ram, etc.

2.  I didn't notice when I ordered the board, but it only has one double 9pin usb header for the front of the case.  While it does have one standard usb plug in there, I would have much preferred a lot more headers.  I am looking for a PCI-e card that will add more internal headers, as well as more external ports in back because when adding webcam, wacom tablet, spyder screen calibrator, mouse, keyboard, etc... I have a lot of usb accessories.  Not necessary if you don't have a lot of usb needs, but for me it is almost essential.

3.  Not a big deal for a desktop as it is on a laptop, but it doesn't have any onboard wireless networking.  It does have two wired connections and I am looking in to the ability to set up both in a LAG configuration to my switch. 

I also bit the bullet and went with the 8GB Quadro k5200. 

So far, I love this system and it is crazy quiet.  I have been able to get a bit more done with Clara, and will be posting more images soon, but I have been putting most of my free time into researching, buying and building this new system.  :)

Tuesday, August 19, 2014

Bit more...

So since my last post I spent some time on a bit of birthday shenanigans, then the next day I told my friend that I would help him put together a portfolio website for his architecture work.  Since then pretty much all of my free time has gone into helping with that, but I got a couple breaks and did a bit more to Clara.  She now has a boot.  :)


It is pretty much ready to start getting some wear details, thread lines, etc going in, and I haven't decided yet but I am contemplating putting in some design work into the leather work.  It would be fun to sculpt in, but I don't really see the character as someone who would really care about frilly things.  

One crazy little thing, the spur is just a basic maya object that I tried to goZ into Zbrush (like I did with the rest of the boot pieces), but it must have crashed 20-30 times appending it into the file.  I have never had such a hard time getting something into Zbrush.  Might have been faster to just sculpt it.  :\

More as develops. 


Tuesday, August 5, 2014

Clara (and Bell?)

I really liked the character and decided to put a bit more into it.  I will flush her out into a full character.

Named her Clara.  Roughed in braid, roughed in body, added more distinct eyes.


I see her as an older, rough, part cyborg cowgirl (robotic arm).  From another sculpt project I had been modeling a horse base mesh for a Pegasus character and decided to kit bash it into this project so Clara could have a mount, but Maya crashed 3 times last night while I was trying to clean up the wireframes so I took the hint and went back to zbrush.  I really need to update my Maya.  :\


Once I get the loops nicer and make sure all polys are quads, I will drop him into zbrush and have some sculpting fun.  I am thinking of calling him/her Bell and adding a chest mounted speaker so s/he can "talk".

Saturday, August 2, 2014

Working in Zbrush again....

A quick bust sculpt as practice.


Tuesday, February 11, 2014

Quick Post...


Here is a quick stump zbrush sculpt to keep my hand moving.  I have quite a bit of new stuff to show, as well as some new features implemented on my site.  Check out the new 3d turnable images on the 3d stills page.  I am going to be uploading a lot of modeling work now that I have in-site user interactivity working so people viewing the site can turn the models at will.  :)

Tuesday, November 12, 2013

Zbrush fun...

Because I have been working Graphic Design I haven't had as much time for Zbrush sculptures, but here was a quick, fun character sculpt to get my tablet-legs again.


I have also been getting ready for convention season and stocking up on alters.  So much painting.  :)

Travels north...

I recently took a Social Media Graphic Designer freelance gig and was able to work remotely, so I decided to take a trip up north, visit family and work from Oregon.  What was supposed to be a week long gig and a week long visit was extended when they kept me on for much longer.  I ended up staying up north for three months and have a HUGE Oregon beard that just feels silly now that I am back in the Hollywood area.

I worked on 5 films with the company, including The Frozen Ground, We're the Millers, and Hunger Games - Catching Fire.  It was fun, but I am ready to get back to studio work.